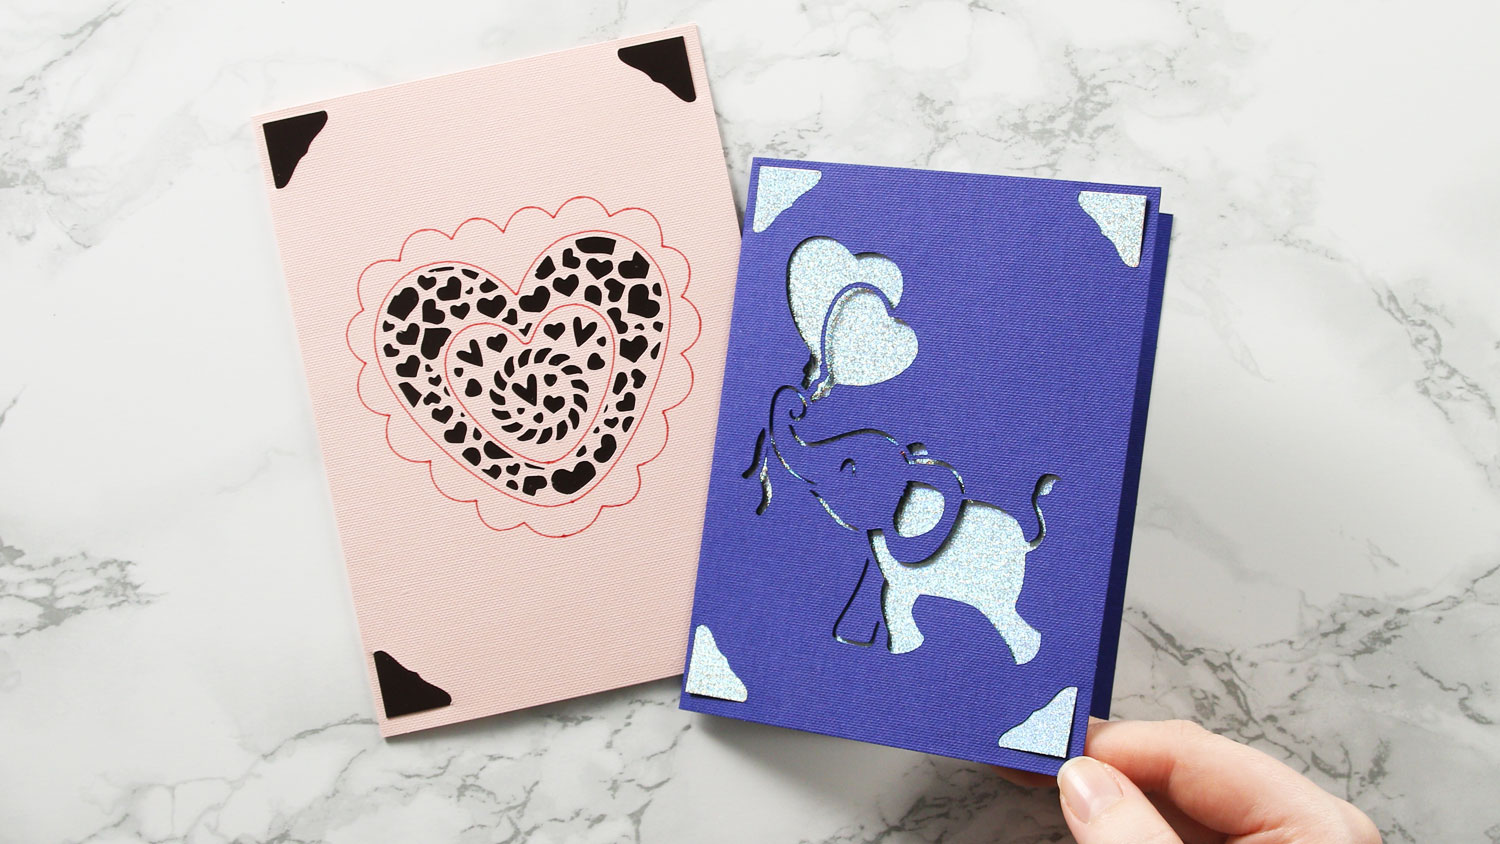
Making cards with Cricut is so much fun as you put all your creativity into it. However, if you do it for the first time, you will need assistance, which we will provide through this blog. We will teach you how to make a card on Cricut with simple designs. All you need to do is make a good start and try different things. You can make the Card with any Cricut machine that has Design Space. However, certain factors matter, like the machine you use, the materials, and the Cricut mat.
We will also discuss the cutting and material settings to achieve the desired results with a 12” X 12” mat. Your design can easily be cut on Cricut Maker 3, but an original Maker or Explore works well. Let’s see how to do it. Make sure you use a desktop computer.
What Do You Need to Make a Card on Cricut?
As a beginner, you will need a minimum of things. For example, you will need good card stocks. If you want to add some designs or layers to your Card, you will need some glue or adhesives to fix them in their place. You will need accessories like Cricut Scoring and the scoring wheel to help you place a scoreline (fold line of the Card).
Cricut pens are also an important accessory for making cards. You can use a good Cricut writing font or draw something on your Card. Also, a good selection of card sizes is required. However, all card sizes are good, but they need to fit into the premade envelopes. The typical greeting cards fit the envelope sizes. Slimline cards are one of the trends in making greeting cards.
How to Make a Card on Cricut Using Shapes?
You have to use the Shapes function in the Design Space to make a card. Here, you will learn to use the scoreline and align the Card. See the steps below and experiment by yourself.
Use the Shape Function
- Use the Shapes function to insert a square in the Design Space.
- Then, click the little padlock icon in the corner to make it a square.
- You can make a rectangle of any size you want. You only need to ensure that the size of your Card will fit into the envelope.
- For an A2 card, make your rectangle 5 ½ “ X 8”, and for an A7, make your rectangle 7” X10”.
- Then, go back to the shape button and insert a scoreline.
- Adjust this scoreline to match your Card, and it should be rotated in the same direction as your Card.
- Now, select the card base and scoreline, click the Align function, and click center. It will align the scoreline at the center of the base card.
Attach the Score Line
This step ensures that the scoreline is placed right on the card base. Keep the card base and scoreline selected, and click the Attach button at the bottom of the screen (bottom right corner). Hence, the position and placement of an item will be secured.
The Attach feature will allow you to resize your Card along with the scoreline. Hence, you don’t need to set the scoreline if you resize your Card multiple times.
Add Layers
- Now, you have to make two more rectangles using the same steps.
- Make sure that the first rectangle is slightly smaller than the half-base card. It depends on how much border edge you want to show for each card layer.
- Then, duplicate the rectangle and adjust the size of that rectangle too.
- Hence, now you have two card players and one card base to put on top of your card base.
- Ensure to set the color you want to be on the Card.
- If you can’t select one layer at a time, select things from the Layers from the right.
Decorate Your Card
Once you cut and assemble the Card, apply stickers, images, or other stuff to decorate your Card. To assemble your cards, just fold them from the center and lay them face down.
Show Off Your Card
Finally, you have done it. After making Cricut Design Space, show them off to your friends.
Conclusion
We saw how you could make a card on Cricut using Design Space. However, there is a bonus tip for you. Try to use a basic shape while making a card for the first time. For example, if you are making an A1 or greeting card, take it in 4.5” x 6.25.” Then, select a shape, fold it vertically, and add a score line. Now click the shape and add a line to the canvas. Click the Align option by selecting both card and the score line. Lastly, when everything is set, click Attach from the Layers Panel. Add layers, decorate your Card, and display it if you want.
